

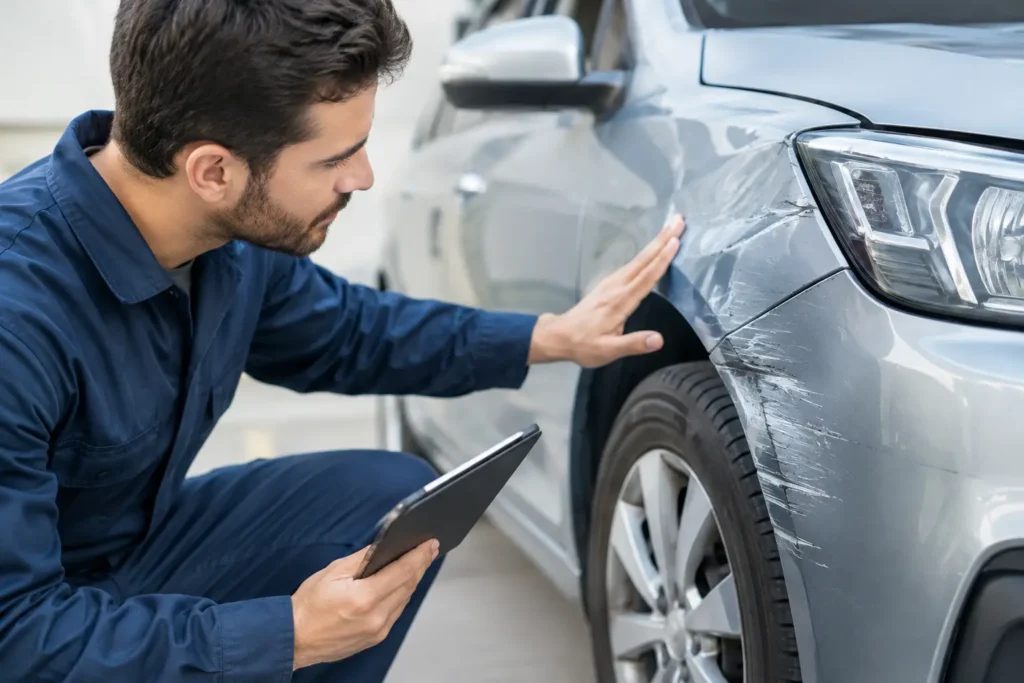
A parking-lot scrape can look minor until the door starts catching, a headlight sits unevenly, or paint begins to crack around the impact point. Knowing how to assess panel damage helps you separate a cosmetic mark from damage that may affect panel alignment, weather sealing, safety equipment, or the vehicle’s value. You do not need to diagnose every repair yourself, but a careful first check helps you ask the right questions and avoid delaying work that could become more expensive.
How to Assess Panel Damage After an Impact
Start by looking at the whole affected area rather than focusing only on the dent or scratch. A bumper impact can transfer force into a fender, wheel-arch liner, headlight mounting point, or parking sensor. A dented door may also affect its hinges, window frame, latch, and side molding.
Park the vehicle on level ground in daylight if possible. Clean loose dust, road grime, and water from the panel before inspecting it. Dirt can hide fine paint cracks and make a shallow dent look deeper than it is. Avoid pressing hard on a damaged panel, especially around sharp creases or cracked paint, because this can worsen the damage.
Check the paint, panel shape, and edges
Look at the panel from several angles. Reflections are useful: a straight wall, garage door, or bright light will show where the surface is no longer smooth. Light dents may be suitable for paintless dent repair when the paint is intact and the metal has not been stretched. Deep creases, sharp folds, exposed metal, and split paint generally require more involved bodywork and refinishing.
Pay close attention to the edges of the panel. Damage near a door seam, wheel opening, hood edge, or bumper corner is more likely to affect alignment. A scratch that has cut through the clear coat and color coat should not be ignored in Dubai’s heat and harsh driving conditions. Once metal is exposed, moisture and contamination can begin the corrosion process, even if the area is small.
Plastic bumpers need a slightly different assessment. They can flex and recover after a light impact, but cracked plastic, torn mounting tabs, or distorted sensor openings will not correct themselves. A bumper that looks acceptable from the front may have broken brackets behind it.
Compare panel gaps and alignment
Factory panel gaps should look even and consistent. Compare the damaged side with the opposite side of the vehicle. Check the space between the door and fender, hood and fender, trunk lid and quarter panel, or bumper and headlight.
A wider gap on one end, a panel sitting proud of its neighbor, or an edge that rubs when opened can point to more than a simple dent. It may indicate a shifted bracket, damaged hinge, bent mounting point, or movement in the structure underneath. This does not automatically mean the vehicle has major structural damage, but it does mean the repair should include a proper inspection before anyone quotes for paint alone.
Open and close the nearby door, hood, or trunk slowly. It should move smoothly, latch securely, and sit flush when closed. Do not force it. If a panel suddenly requires extra effort to close, stop using it where practical until a technician checks the cause.
Test the features around the damaged panel
Modern body panels often carry more than paint. A minor bumper impact can affect parking sensors, cameras, radar units, fog lights, grille shutters, and wiring. A door impact may affect the power window, central locking, mirror adjustment, speaker, or keyless-entry sensor.
Test these features after the visual inspection. Watch for warning lights, sensor alerts, a camera image that appears misaligned, unusual noises, or functions that work intermittently. If a warning appears after the impact, do not assume it is unrelated. Diagnostic scanning may be needed to identify a damaged connector, sensor, or calibration requirement.
Also check the tire nearest the impact if the collision involved a curb, wheel, or lower bumper. Look for sidewall cuts, bulges, and new vibration while driving. If the steering wheel is off-center, the vehicle pulls to one side, or there is a scraping noise, arrange an inspection promptly. Those signs can indicate suspension, steering, wheel, or alignment issues beyond the body panel.
Look for Damage Hidden Behind the Panel
The visible panel is only the outer layer. Behind it may be reinforcements, crash absorbers, liners, wiring looms, brackets, and mounting points. A bumper cover can hide damage to the impact bar or energy absorber. A fender can conceal a damaged inner liner that may rub against the tire. Water leaks after a door or trunk impact can result from a disturbed seal or misaligned opening.
Look underneath and inside nearby openings with a flashlight, but do not remove trim or attempt to straighten structural components at home. Check for loose clips, hanging liners, broken plastic pieces, fresh fluid leaks, or new gaps around lights and seals. If you see any of these, the repair estimate should account for inspection and replacement of damaged parts, not just exterior refinishing.
Pay particular attention after damage near an airbag sensor area, the front bumper, a headlight, or a rear quarter panel. Safety systems and advanced driver-assistance features may need professional checks and, in some cases, calibration after repairs. Saving money by skipping this step is not a worthwhile trade-off.
Consider the material before choosing a repair
Steel, aluminum, plastic, and composite panels do not repair the same way. Aluminum panels, common on many premium German and American vehicles, require suitable tools and techniques to avoid contamination and further distortion. Plastic bumper repairs depend on the type of plastic, the position of the crack, and whether mounting tabs have failed.
This is why the cheapest estimate is not always the best value. A low-cost repair may make the panel look better temporarily while leaving poor alignment, weak mounting points, uneven paint texture, or unaddressed sensor faults. A clear estimate should explain whether the work involves repair, replacement, paint blending into adjacent panels, parts, scanning, and calibration.
Document the Damage Before Repair Work Begins
Take clear photos before washing, polishing, or attempting any touch-up. Photograph the full side of the vehicle, close-ups of the damage, panel gaps, warning lights, and any broken parts you find. Note when the impact occurred and any changes in the way the vehicle drives or operates afterward.
This record is useful for insurance discussions, repair comparisons, and your own peace of mind. It also helps a body repairer understand what happened before the vehicle arrives. If another vehicle was involved, exchange the appropriate details and follow local reporting requirements before starting cosmetic repairs.
When to Bring the Vehicle to a Body Repair Specialist
Professional assessment is the sensible next step if paint is cracked through to metal, gaps have changed, a panel will not open or close correctly, lights or sensors are affected, or the vehicle drives differently after the impact. The same applies when you are unsure whether a dent is suitable for paintless repair or requires conventional denting and painting.
At HYATTS AUTO CARE, a proper assessment starts with the visible damage but does not stop there. The goal is to identify what needs repair, what needs replacement, and whether electrical diagnostics, sensor checks, or alignment work should be included. You should receive straightforward guidance on the condition of your vehicle, the recommended work, and the likely cost before repairs move ahead.
A clean-looking repair matters, but the best result is one that restores fit, function, and confidence every time you get behind the wheel.